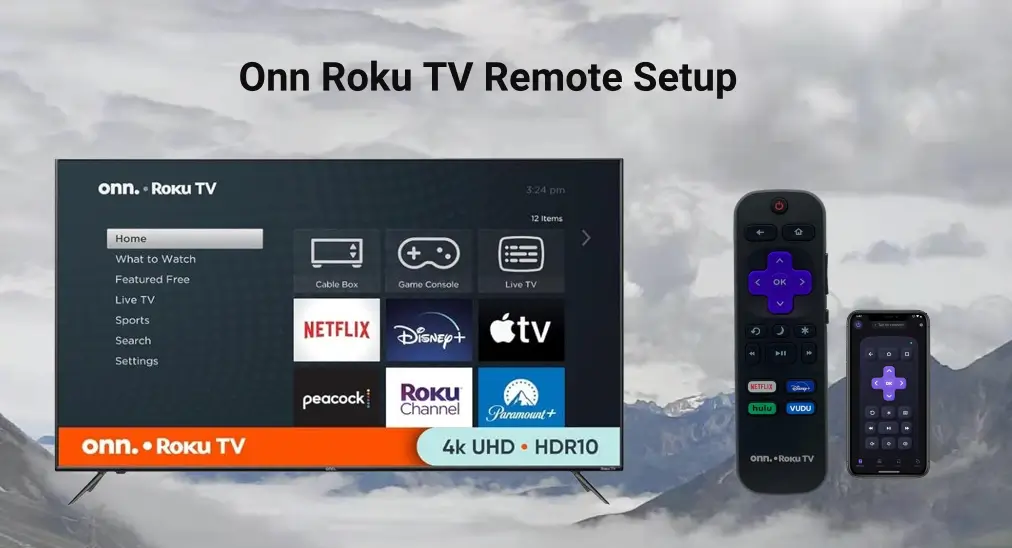
Roku TV Setup: Easy Installation Guide to Unlock a Home Theater Experience
Michael Brown
1314 views
Roku TV Setup: Easy Installation Guide to Unlock a Home Theater Experience
Setting up a Roku TV can be a straightforward process that unlocks a world of entertainment and streaming possibilities in the comfort of your own home. With its intuitive interface and seamless connectivity, Roku TV offers a hassle-free experience for users of all ages. In this article, we'll provide a comprehensive and step-by-step guide on how to set up your Roku TV, covering the process from power-up to enjoying your favorite shows and movies.
The Roku TV setup process typically takes about 15-20 minutes to complete, depending on the complexity of your home network and the number of devices you need to connect. With this guide, you'll be able to navigate through the process with ease and have a fully functional Roku TV up and running in no time.
Step 1: Connecting Your Roku TV to the Power Source
To begin the setup process, plug in your Roku TV and turn it on. You'll find the power cable in the back or bottom of the TV. Locate the HDMI inputs and connect an HDMI cable to the TV and a compatible device, such as a set-top box, Blu-ray player, or gaming console. Plug the HDMI cable into the correct port on the TV, making sure it's securely connected to avoid any signal loss.
Choosing the Right Input
When connecting your HDMI cable, consider what devices you plan to connect to your Roku TV. If you have a set-top box or Blu-ray player, connect it to input 1. If you have a gaming console, such as a PlayStation or Xbox, you may want to connect it to input 2 or 3 for optimal performance. For other devices, such as a soundbar or streaming device, use the remaining HDMI ports.
Once your device is connected to the TV, turn it on and follow the on-screen instructions to select the correct input. On your TV remote, press the Home button to access the Home screen and navigate to Settings. From there, select System > Power > System Restart to restart your TV and complete the setup process.
Step 2: Setting Up Your Wi-Fi Connection
Next, set up your Roku TV's Wi-Fi connection by going to Settings > Wireless & networks > Wireless Setup. The TV will automatically scan for nearby networks and display a list of available networks. Use the remote control to select your desired network from the list, enter your network password, and confirm. You may be prompted to enter a secondary password if you have WPA2 wireless encryption set up.
Wi-Fi Range and Interference
When choosing a location for your router, keep in mind the strength and range of your Wi-Fi signal. For optimal performance, position your router in a central location, away from physical barriers like walls and floors. This will help minimize interference and ensure a strong signal to your Roku TV.
The type of Wi-Fi connection you have also affects the installation process. To avoid buffering and lag, use a 802.11.ac router with at least two wireless channels available. You can also upgrade to a 5G router for faster speeds, but be aware that this may also increase your monthly internet bill.